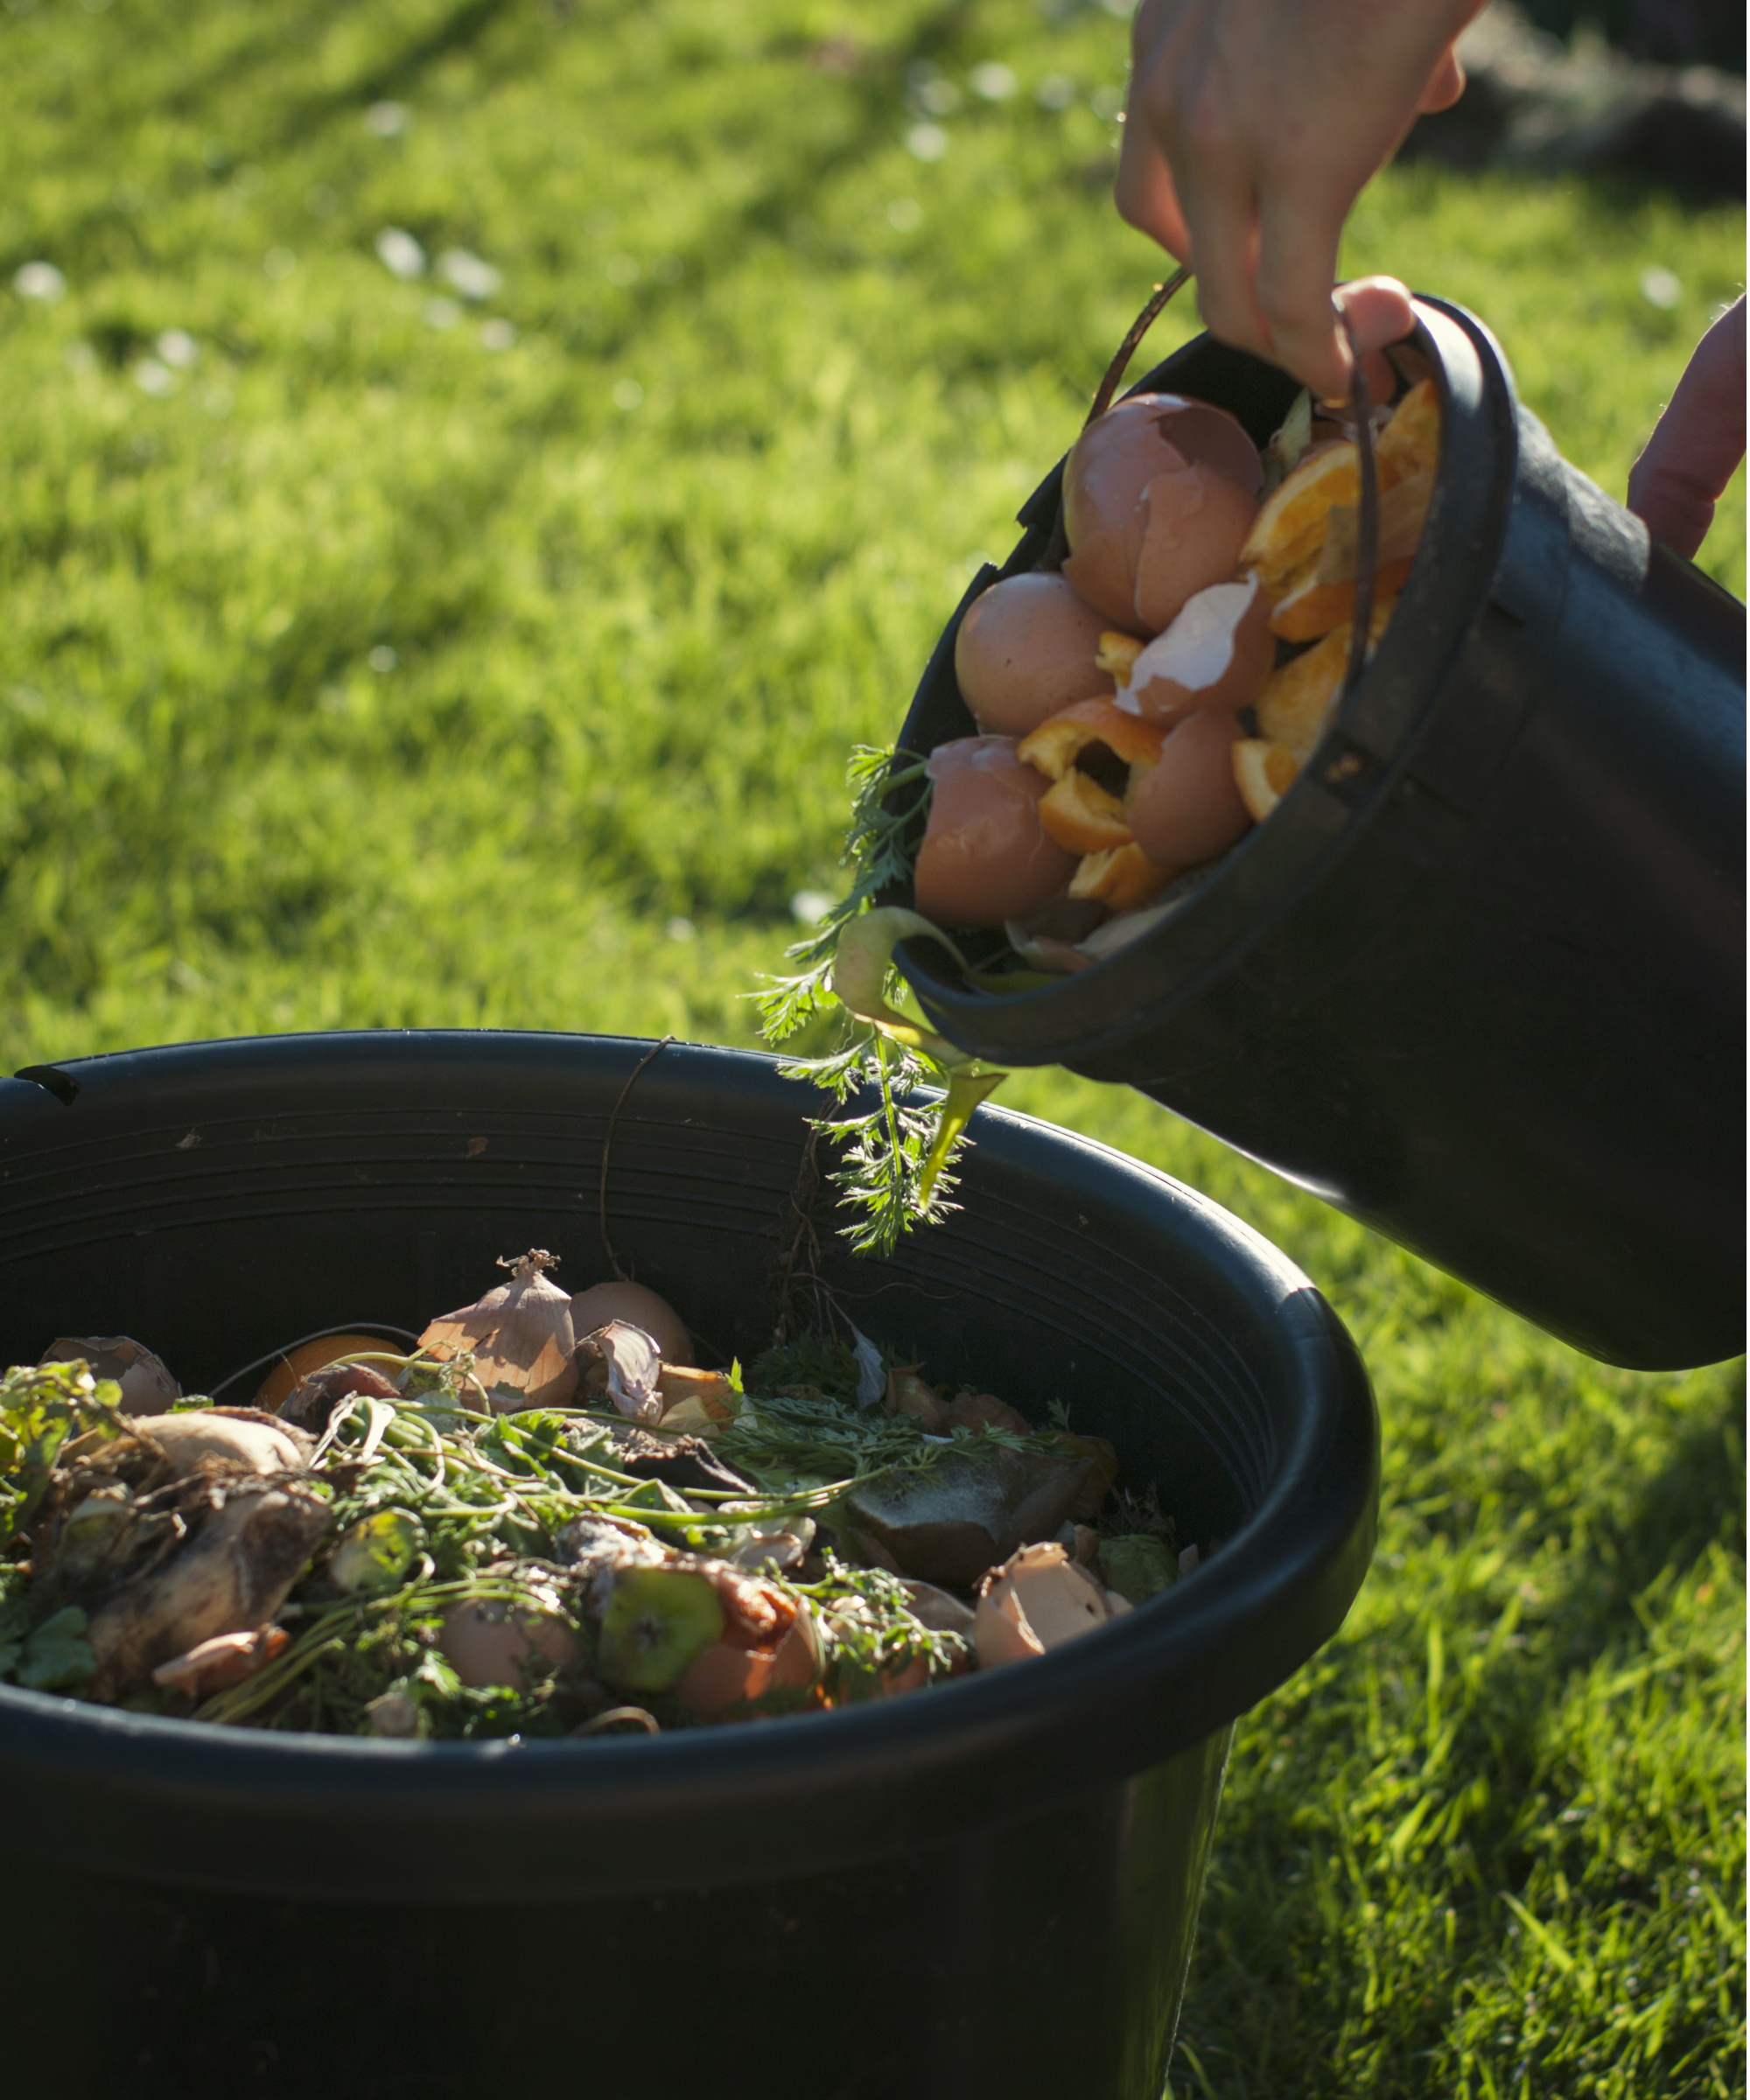
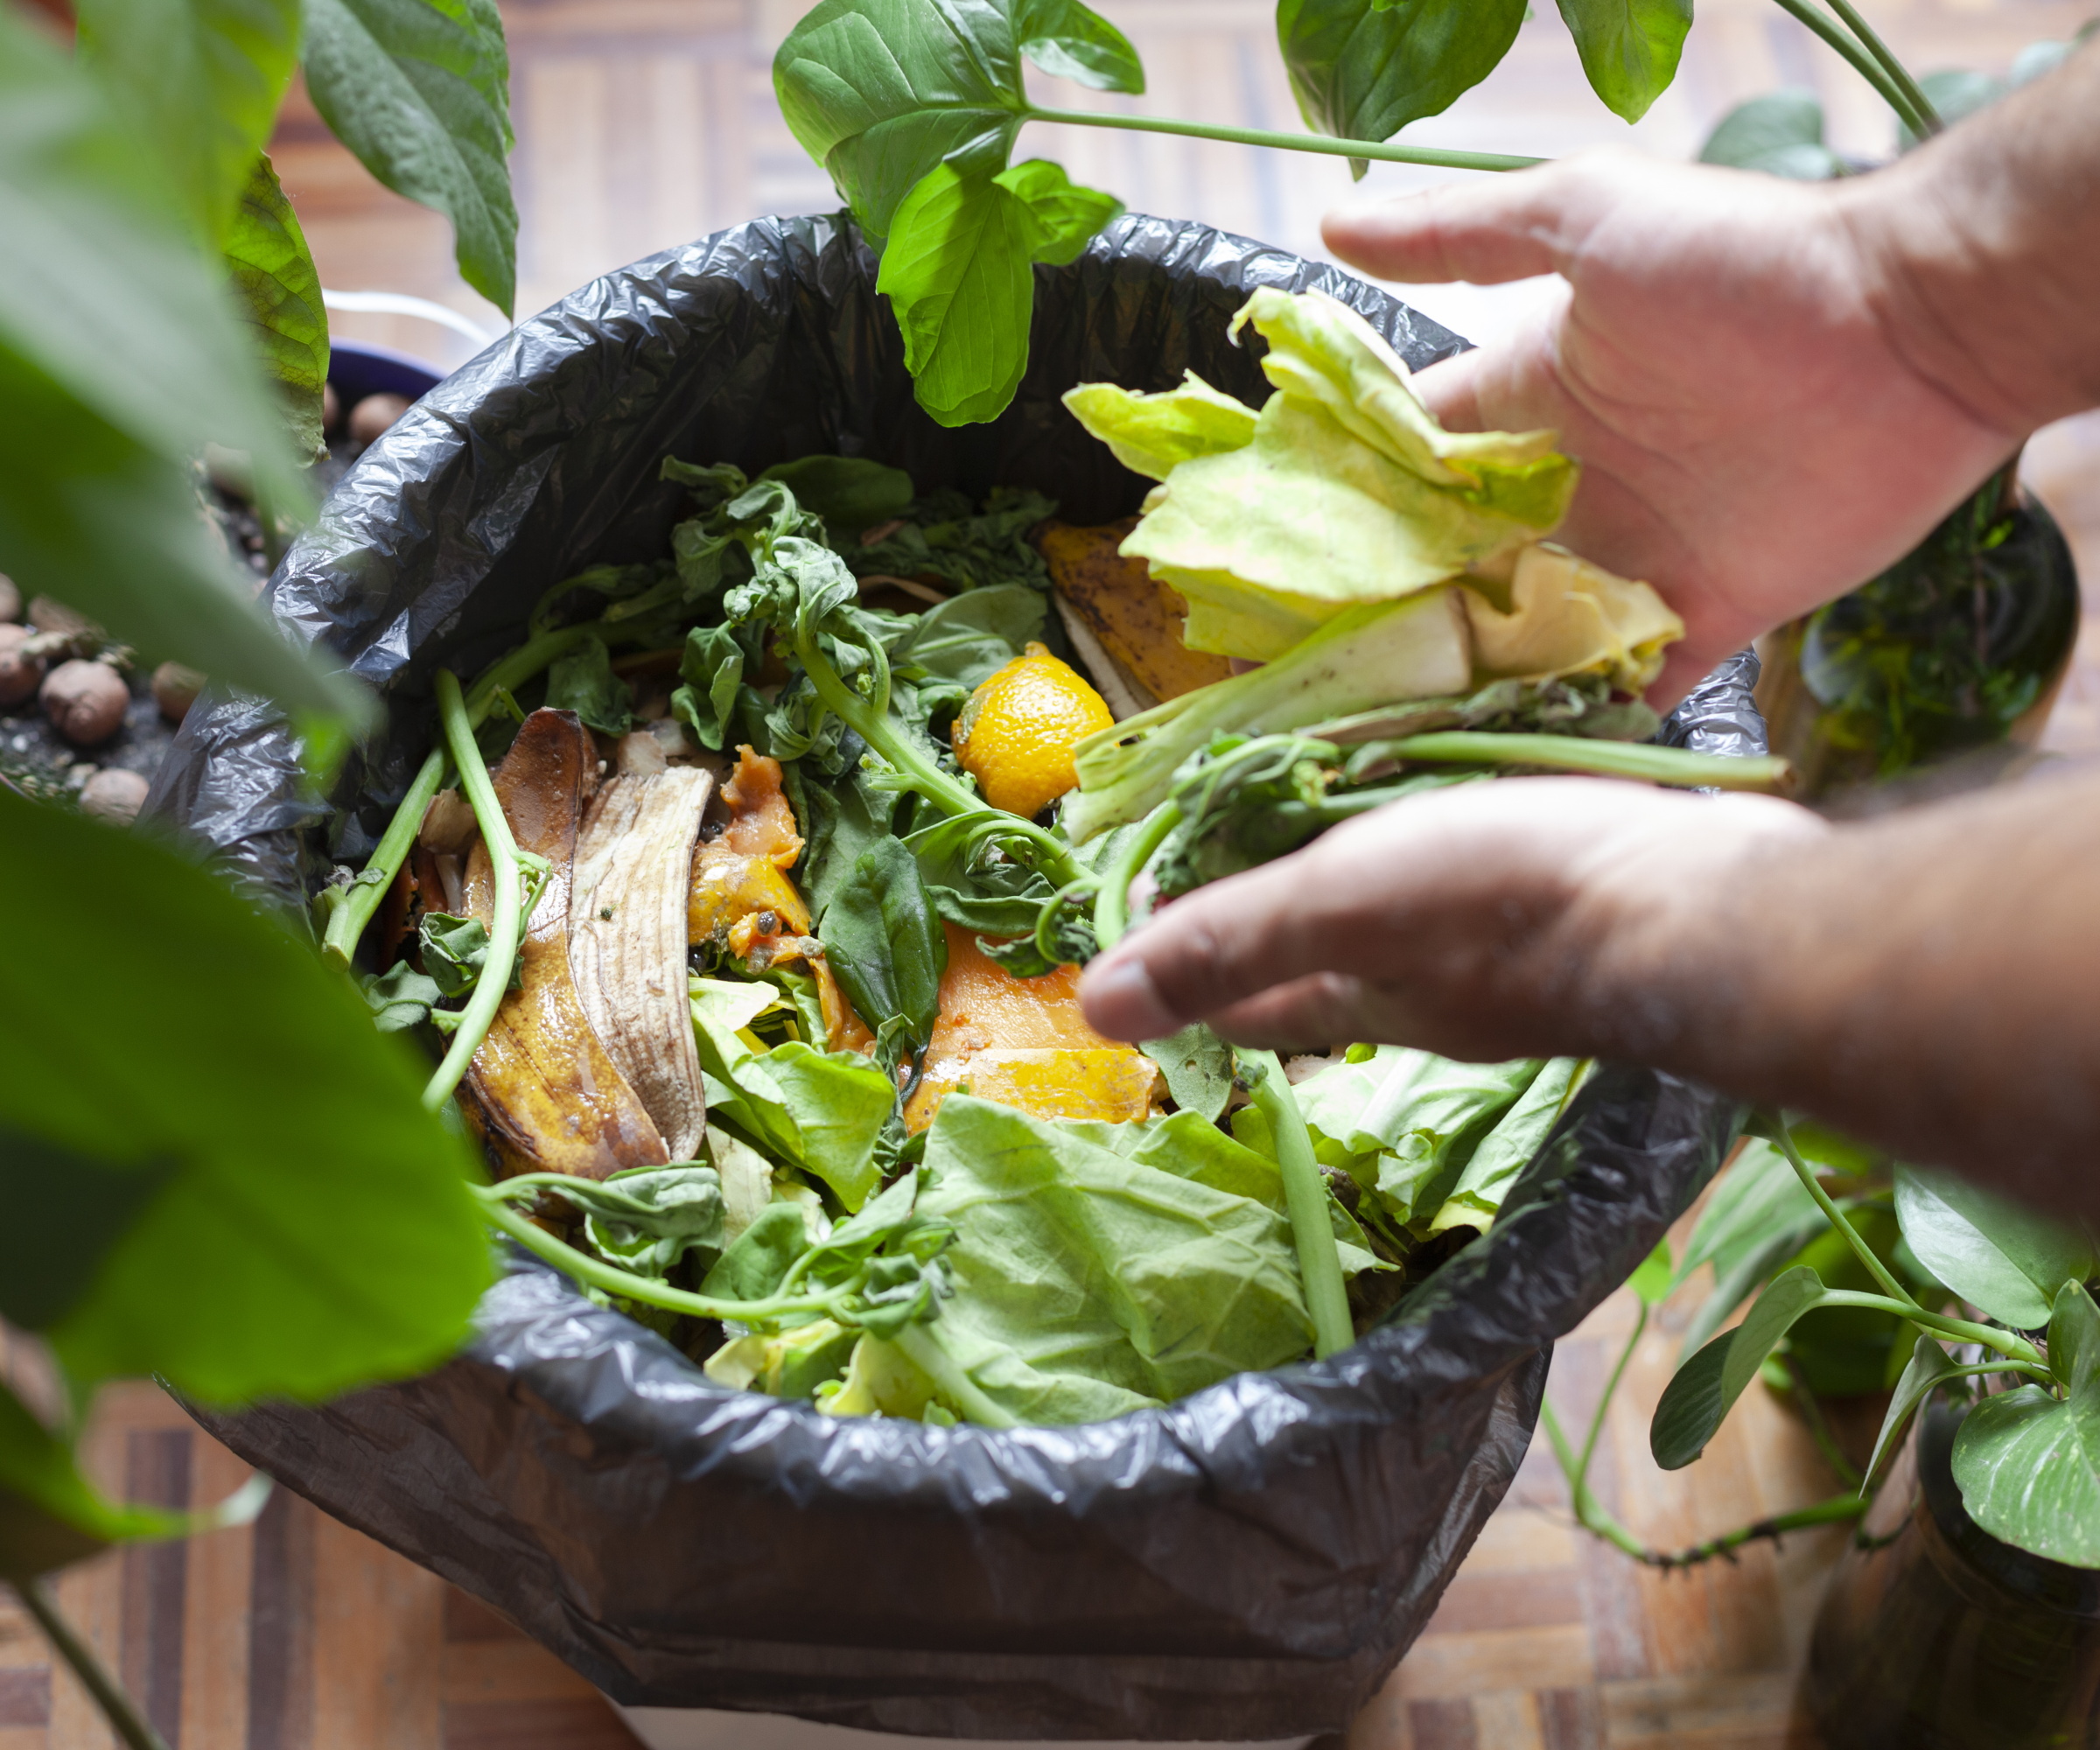
Composting is a wonderful hobby that you have to take over as a gardener. It not only offers you nutrient -rich affairs to feed your plants, but it is also worth observing how waste is converted into something valuable.
You don't need much to make compost – just a suitable compost container and the right materials you have to throw in. It also does not require to invest in a particularly expensive compost container to be successful, as there are many DIY compost tanks that you can make of articles that you probably already have at home.
Creating a DIY compost container is an entertaining project you can take over, and you leave you a suitable ship to continuously make organic matter for your garden. Here a compost expert divides its preferred DIY compost -ideas with tips on how to make them successful.
(Photo credit: Elenathewise via Getty Images)
5 Easy Diy Compost Bin Ideas
Many of these DIY compost containers can also be used for hot composting. This only requires an additional insulation to maintain the temperatures – for example, the use of these flattened cardboard boxes from Walmart, as the composting tips by Charles Dowding recommend.
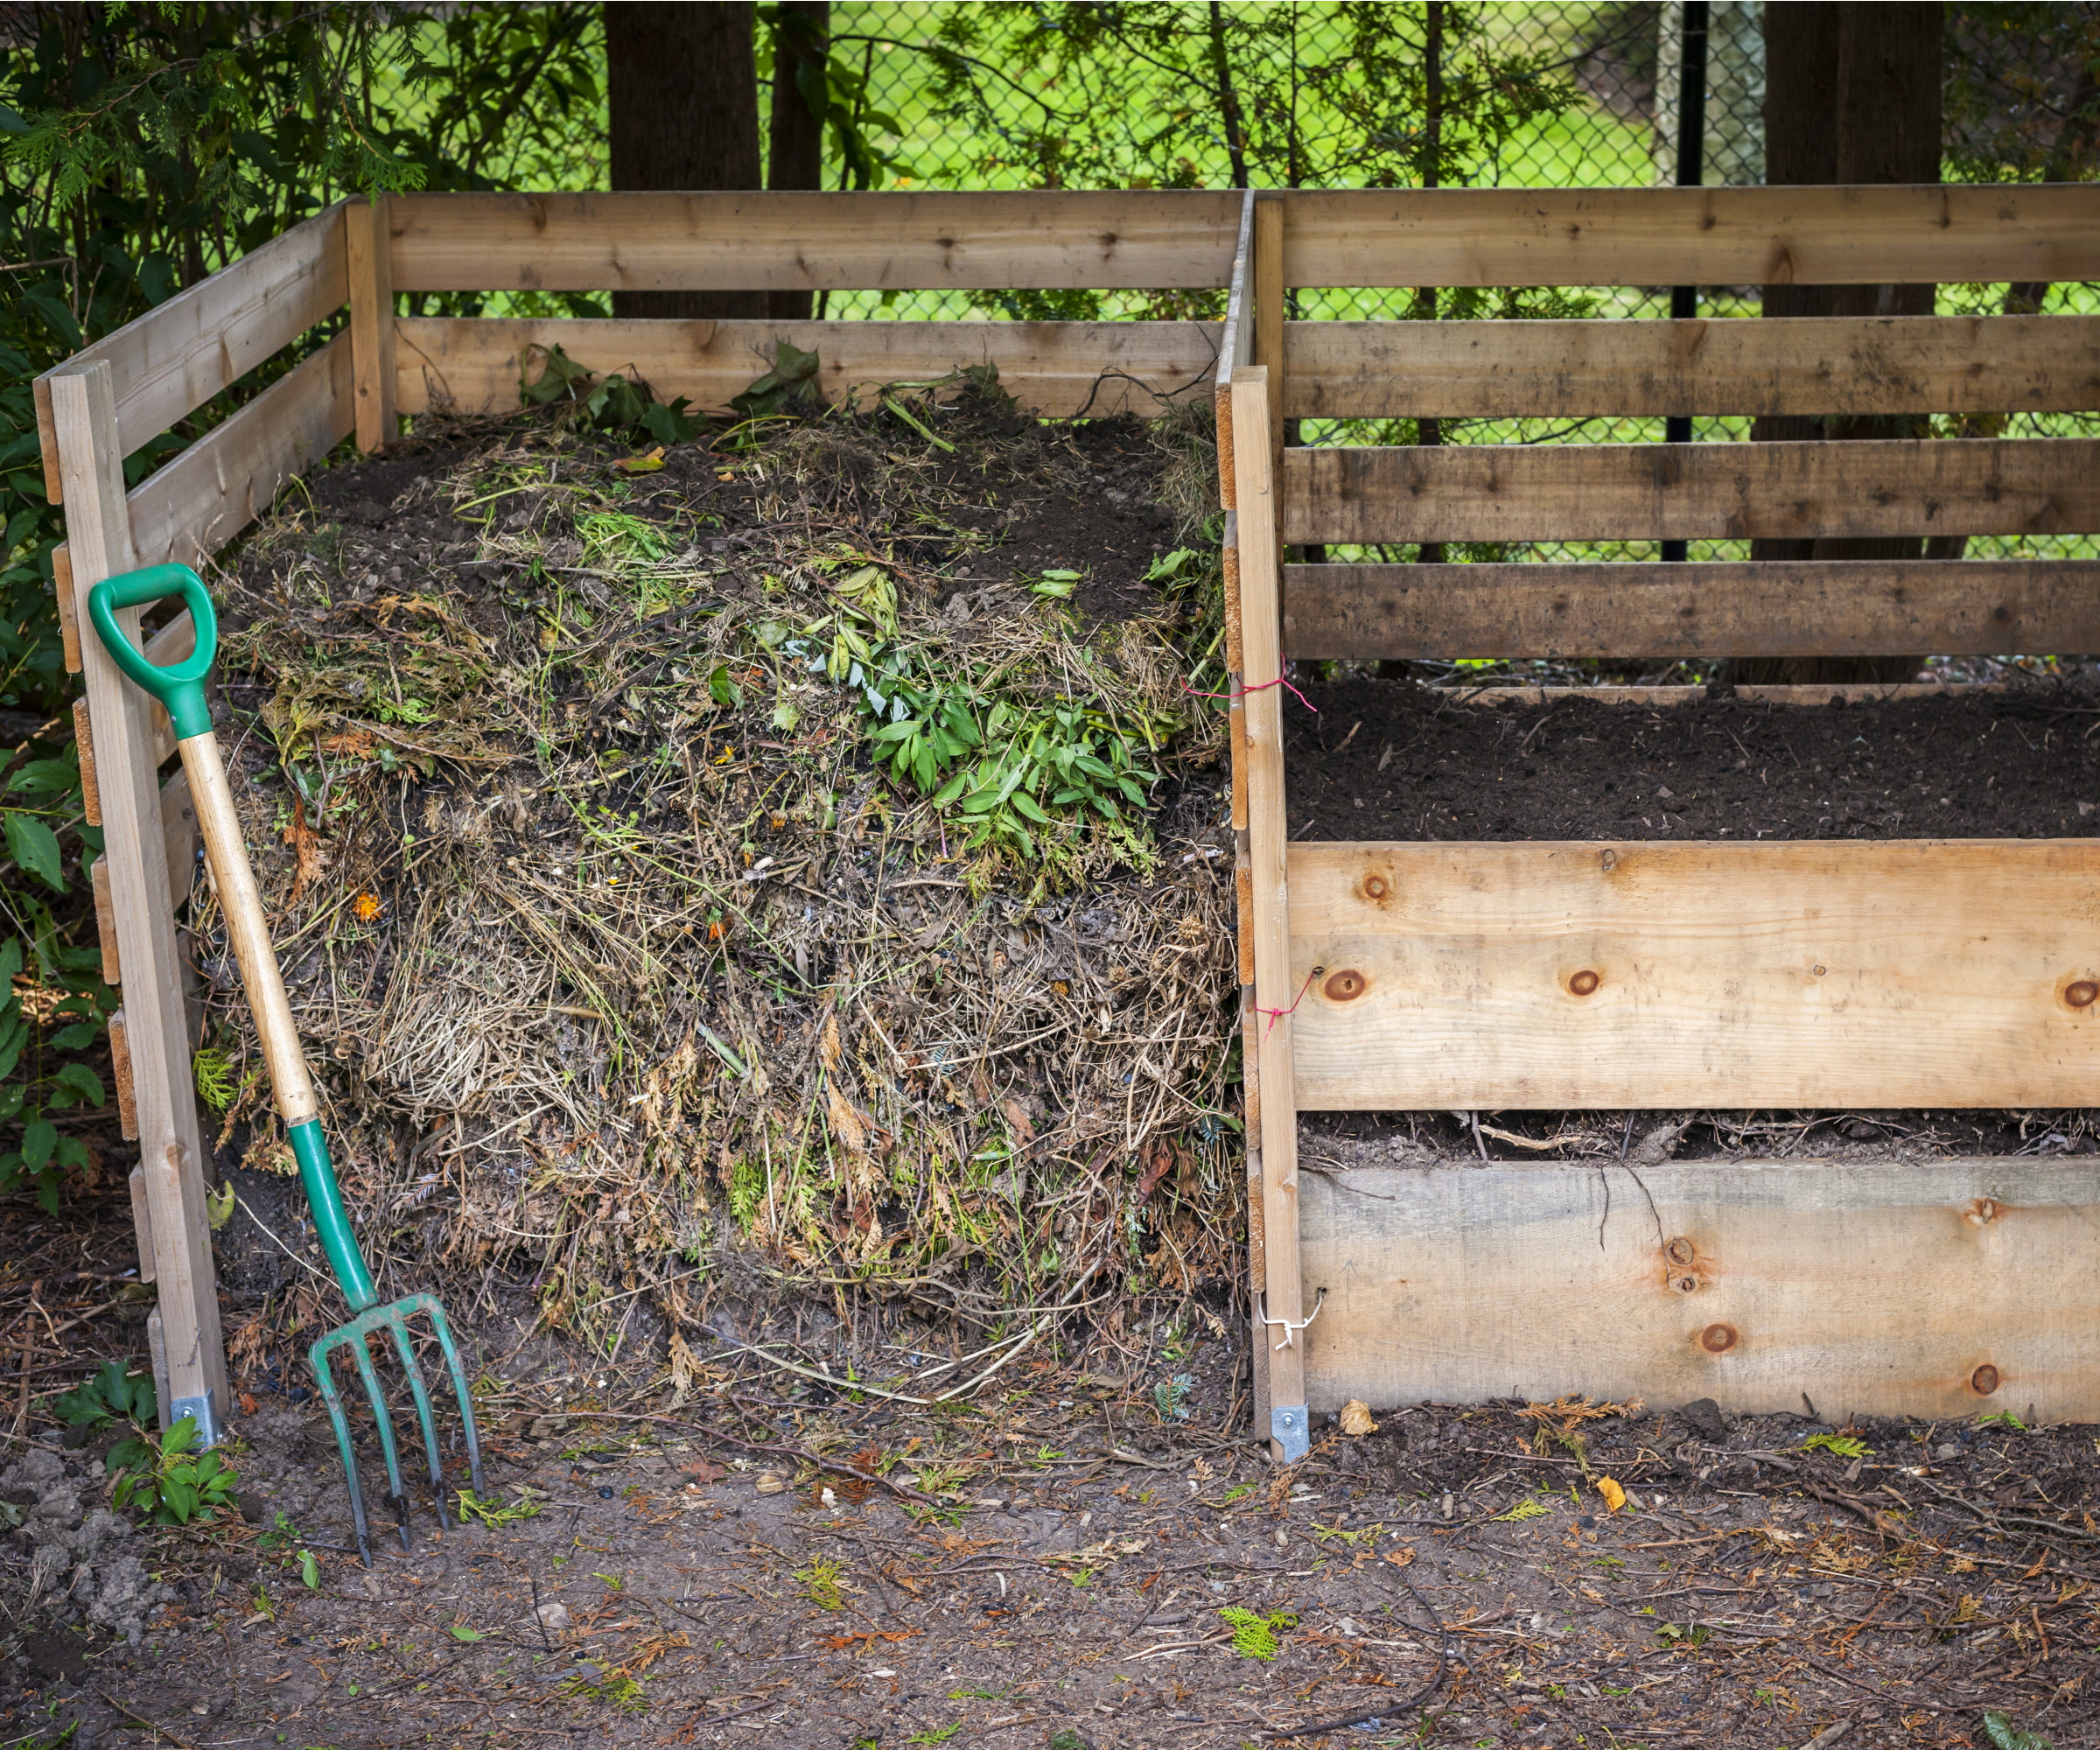
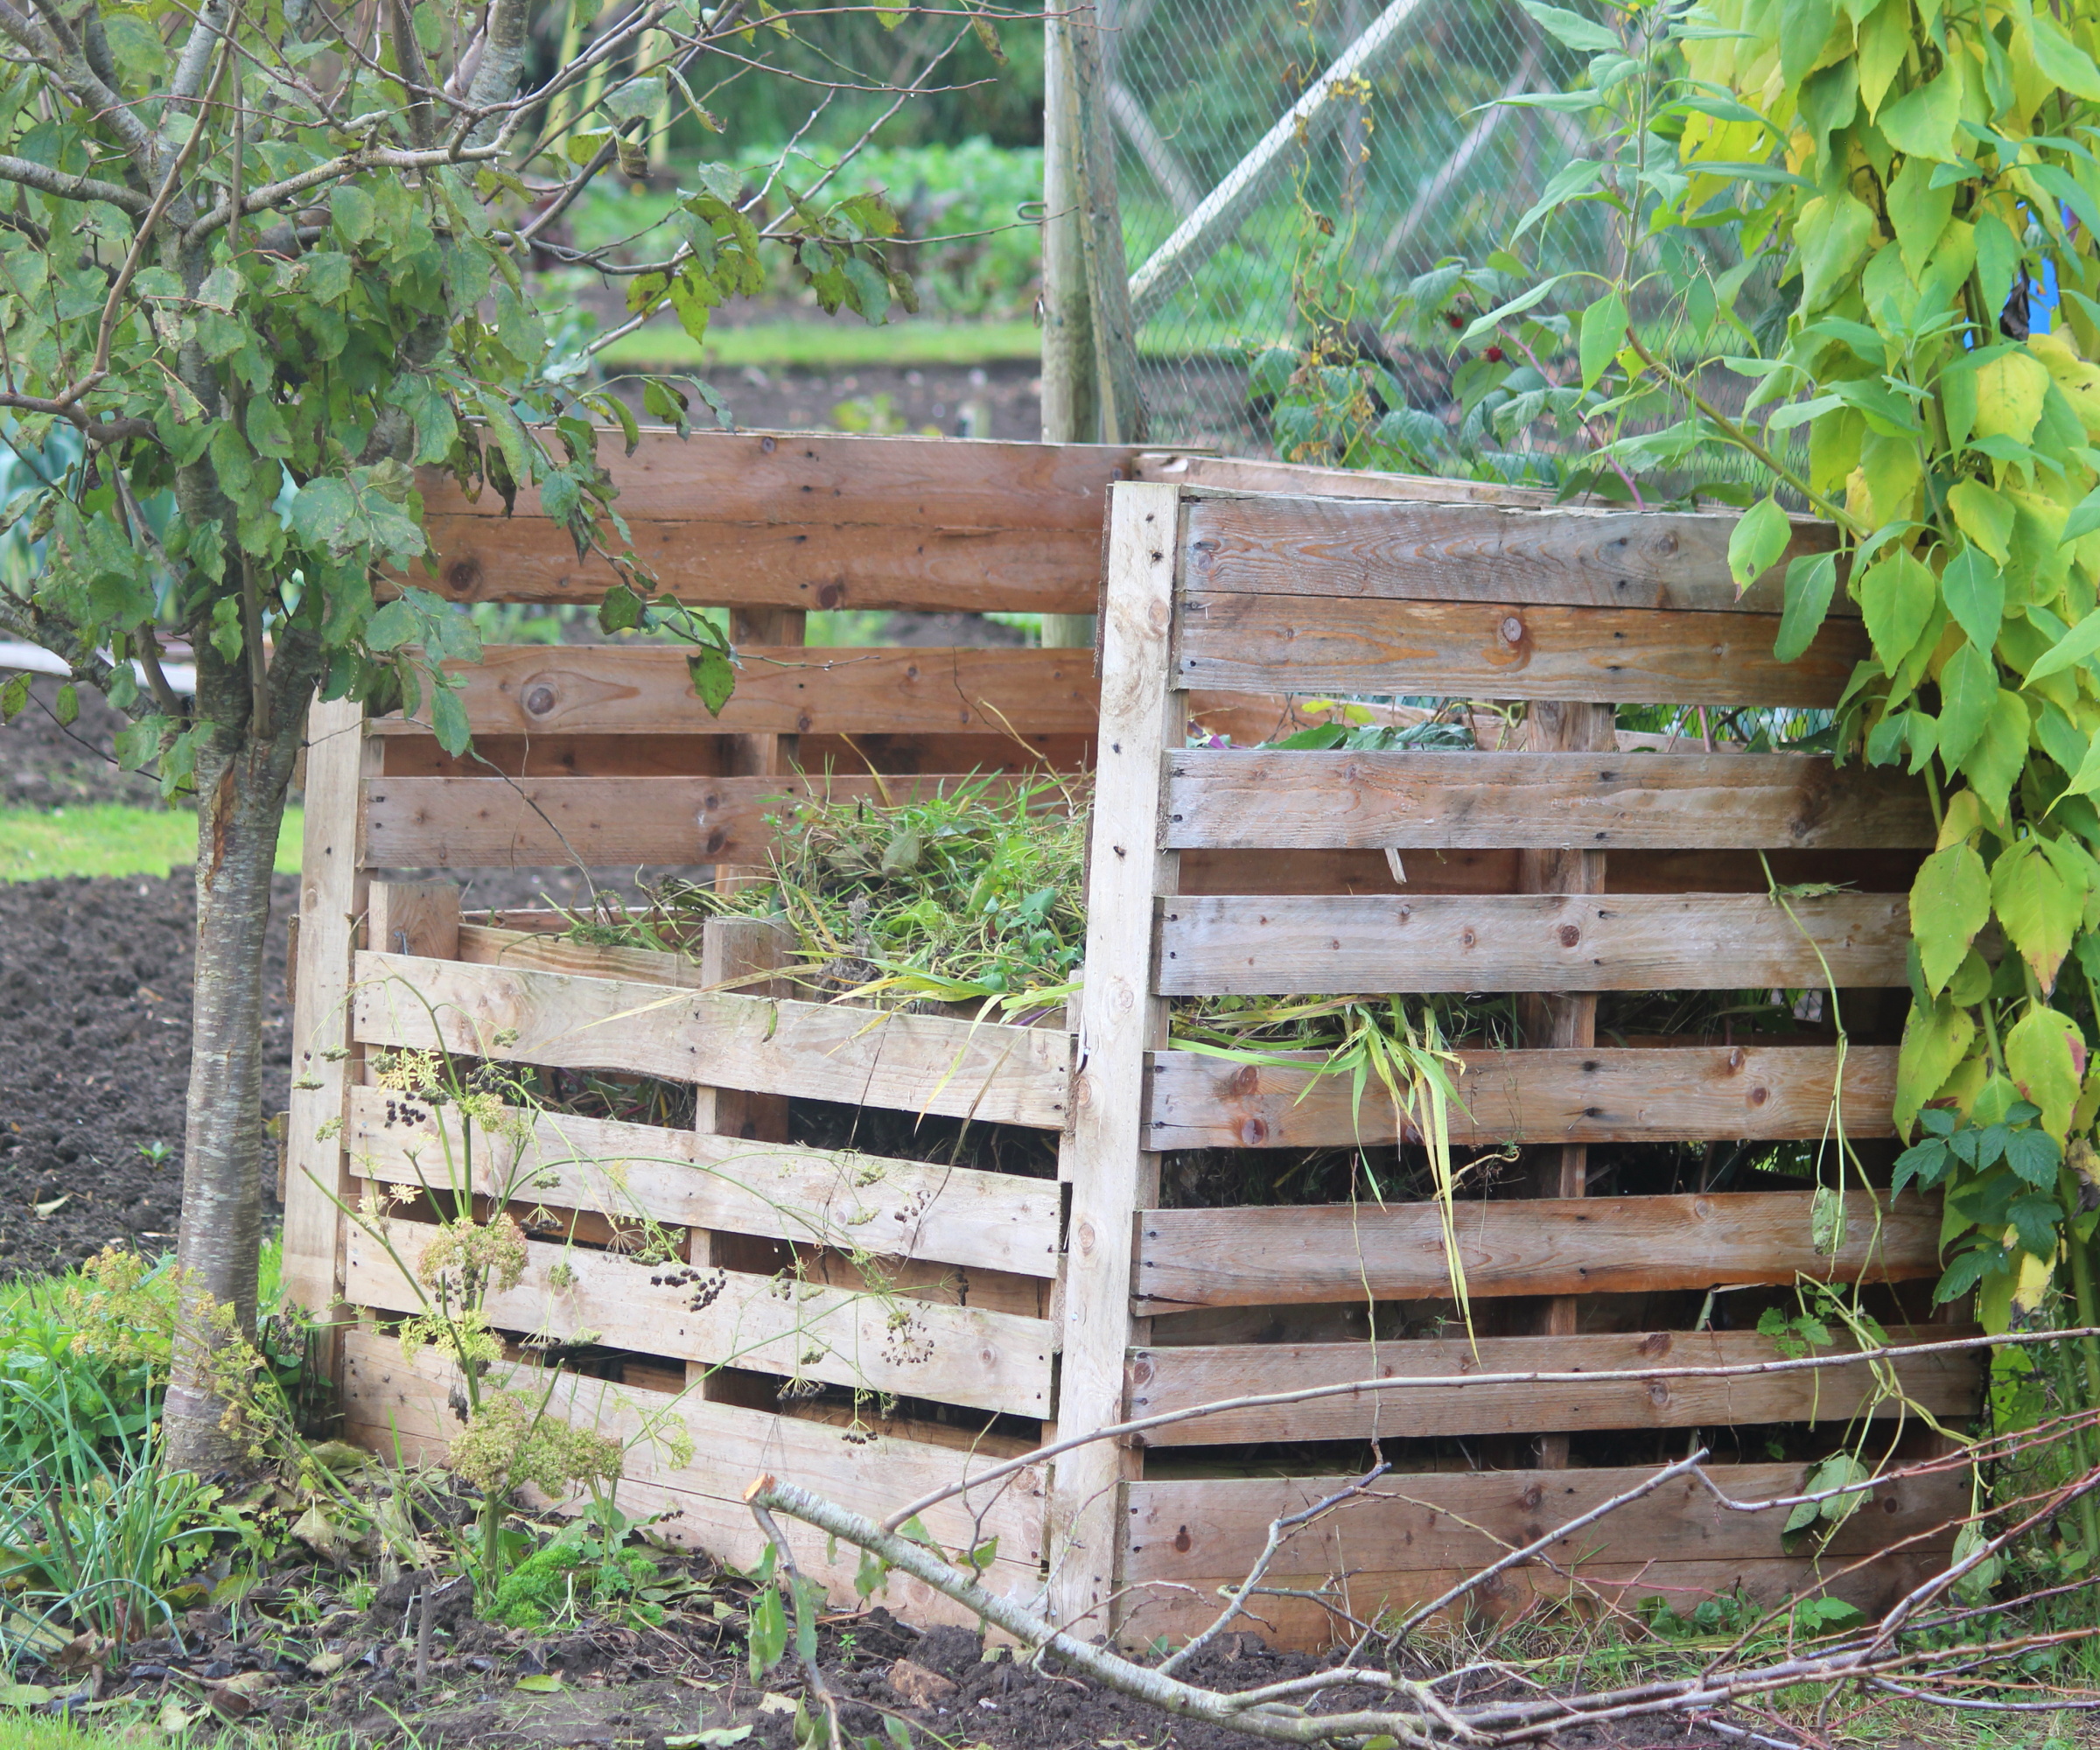
1. Palette compost tank
(Photo credit: Mtrasure about Getty Images)
This may be the DIY compost tank that comes to mind first. The classic pallet compost container is easy to prepare and has a rustic feeling that gives it an aesthetic value. It also offers the ideal conditions for composting.
“The construction of a compost container with repurposed wooden pallets is inexpensive and ventilates the decomposition,” says Lauren clickFounder of Let's Go Compost.
If you have ventilated your compost, it helps to prevent the compost, to smell badly, and aerobic. Of course, the other advantage of a pallet compost container is that you can create a larger pile.
“To create a pallet container, arrange three wooden pallets (at Amazon) vertically in the U-shape to form the back and sides of the container. Secure them with screws or nails. Then attach a fourth palette with hinges to the front to get easy access.
It is advisable to place this DIY compost container on bare soil “to enable natural drainage and access to useful organisms such as worms and microbes,” says Lauren.
Avoid composting errors by not using pallets that have been treated with chemicals: “These can outlook toxins in their compost,” warns Lauren. “Search for pallets that are marked with HT (heat -treated) instead of MB (methyl bromide treated), which is unsure,” she advises.

Lauren is the founder of Let's Go Compost, a non -profit organization with the mission, to be free and accessible in the United States. Lauren works with public schools and municipal gardens both in the truth (in the truest sense of the word) and also focuses on the overall picture – the cooperation with large organizations and political decision -makers to ensure that the focus is on composting and affordability when the infrastructure is developed becomes.
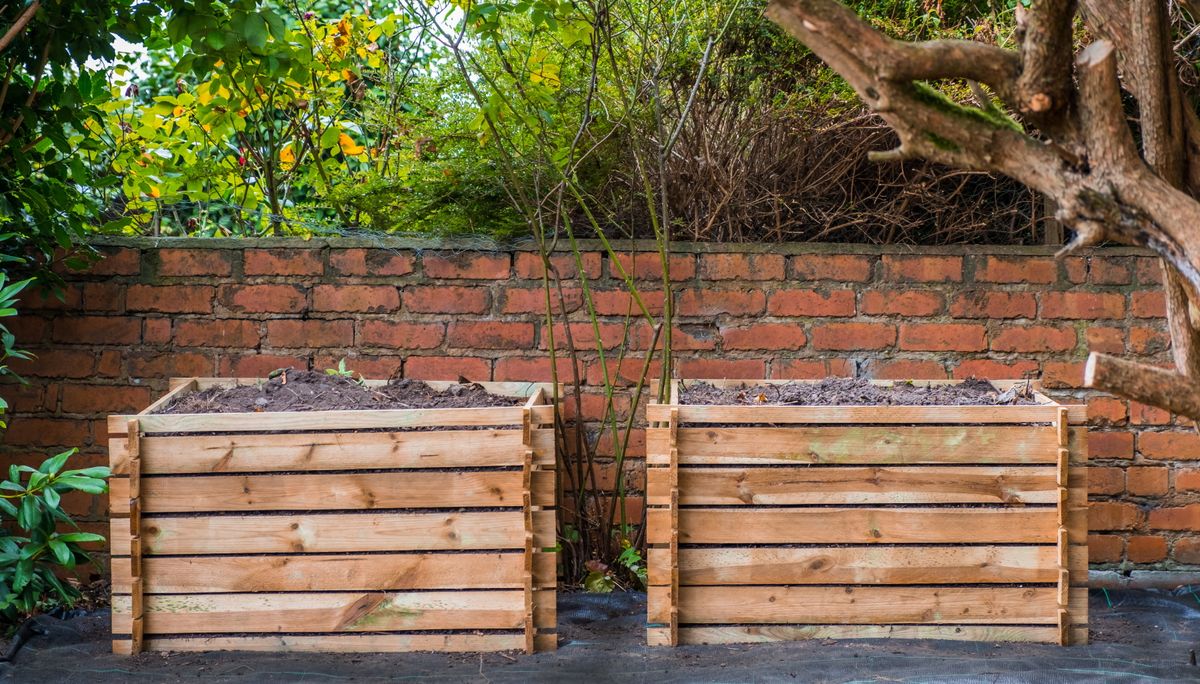
2. Cold frame compost tank

(Photo credit: Dorling Kindersley Ltd about Alamy)
If you have a cold frame that is rarely used, turn it into a DIY compost tank. The joy of this idea is that the frame has already been constructed for you. It only requires some changes.
The main thing that you have to do is ventilation. You can do this by drilling holes through the lid and the sides of your cold frame. Of course, this is easier on a cold plastic frame like this from Amazon. Make sure you put it on bare soil to support drainage and access to microbes and worms.
“The use of a cold frame that is normally designed for starting seedlings can serve as a warm, protective composting environment,” says Lauren. “The transparent cover covers of the heat and accelerate the composting process even in cooler weather,” she adds.
This is particularly advantageous for winter composting and freezing the compost in winter.
“Make sure that the frame does not contain plastics that worsen over time and fill microplastics into the compost,” warns Lauren. “You should also monitor moisture levels that can build up faster in this area.”
Use this soil moisture meter from Amazon to monitor the moisture levels in your compost heap. You want it to be damp but not moist.
3.
(Photo credit: Jill Ferry Photography about Getty Images)
There are many household items that you can produce a DIY compost tank, and a plastic bucket is one of them. This is a particularly good solution for gardeners with a small garden, in which you may not have as much space to build a pallet container, for example.
“A five-gallon plastic bucket (from Amazon) is a simple and space-saving composting solution for small households or urban environments,” says Lauren.
“All you have to do is to drill several small holes around the sides and the bottom of the bucket in order to provide ventilation and drainage,” she explains.
From there you can transmit your brown and green materials accordingly. Don't forget to turn your compost regularly, even on a smaller scale of a bucket compost tank. “Mix the content with a stick or by shaking the bucket weekly,” advises Lauren.

Use this 21 -V performance drill to complete your DIY compost tank with ventilation holes.
4. Garbage tank compost
(Photo credit: Erlon Silva – Tri Digital via Getty Images)
Similar to a bucket compost container, you can easily surround a garbage container to create a DIY compost tank. The most important thing with this idea is to choose the correct material of the garbage container.
You have to be able to drill holes for ventilation, and it is also advisable to avoid metals that help keep your compost free of contamination. This makes a plastic waste container ideal, such as this seven gallons plastic container from Amazon.
“To improve the air flow, you can easily increase the trash can by laying it on bricks or wooden blocks,” suggests Lauren. You can even use these pot feet from Amazon.
“For a quick and easy way to ventilate your compost, you can roll the container on the page. Just make sure you secure the lid beforehand, ”says Lauren.
5. Ein divers compost tank
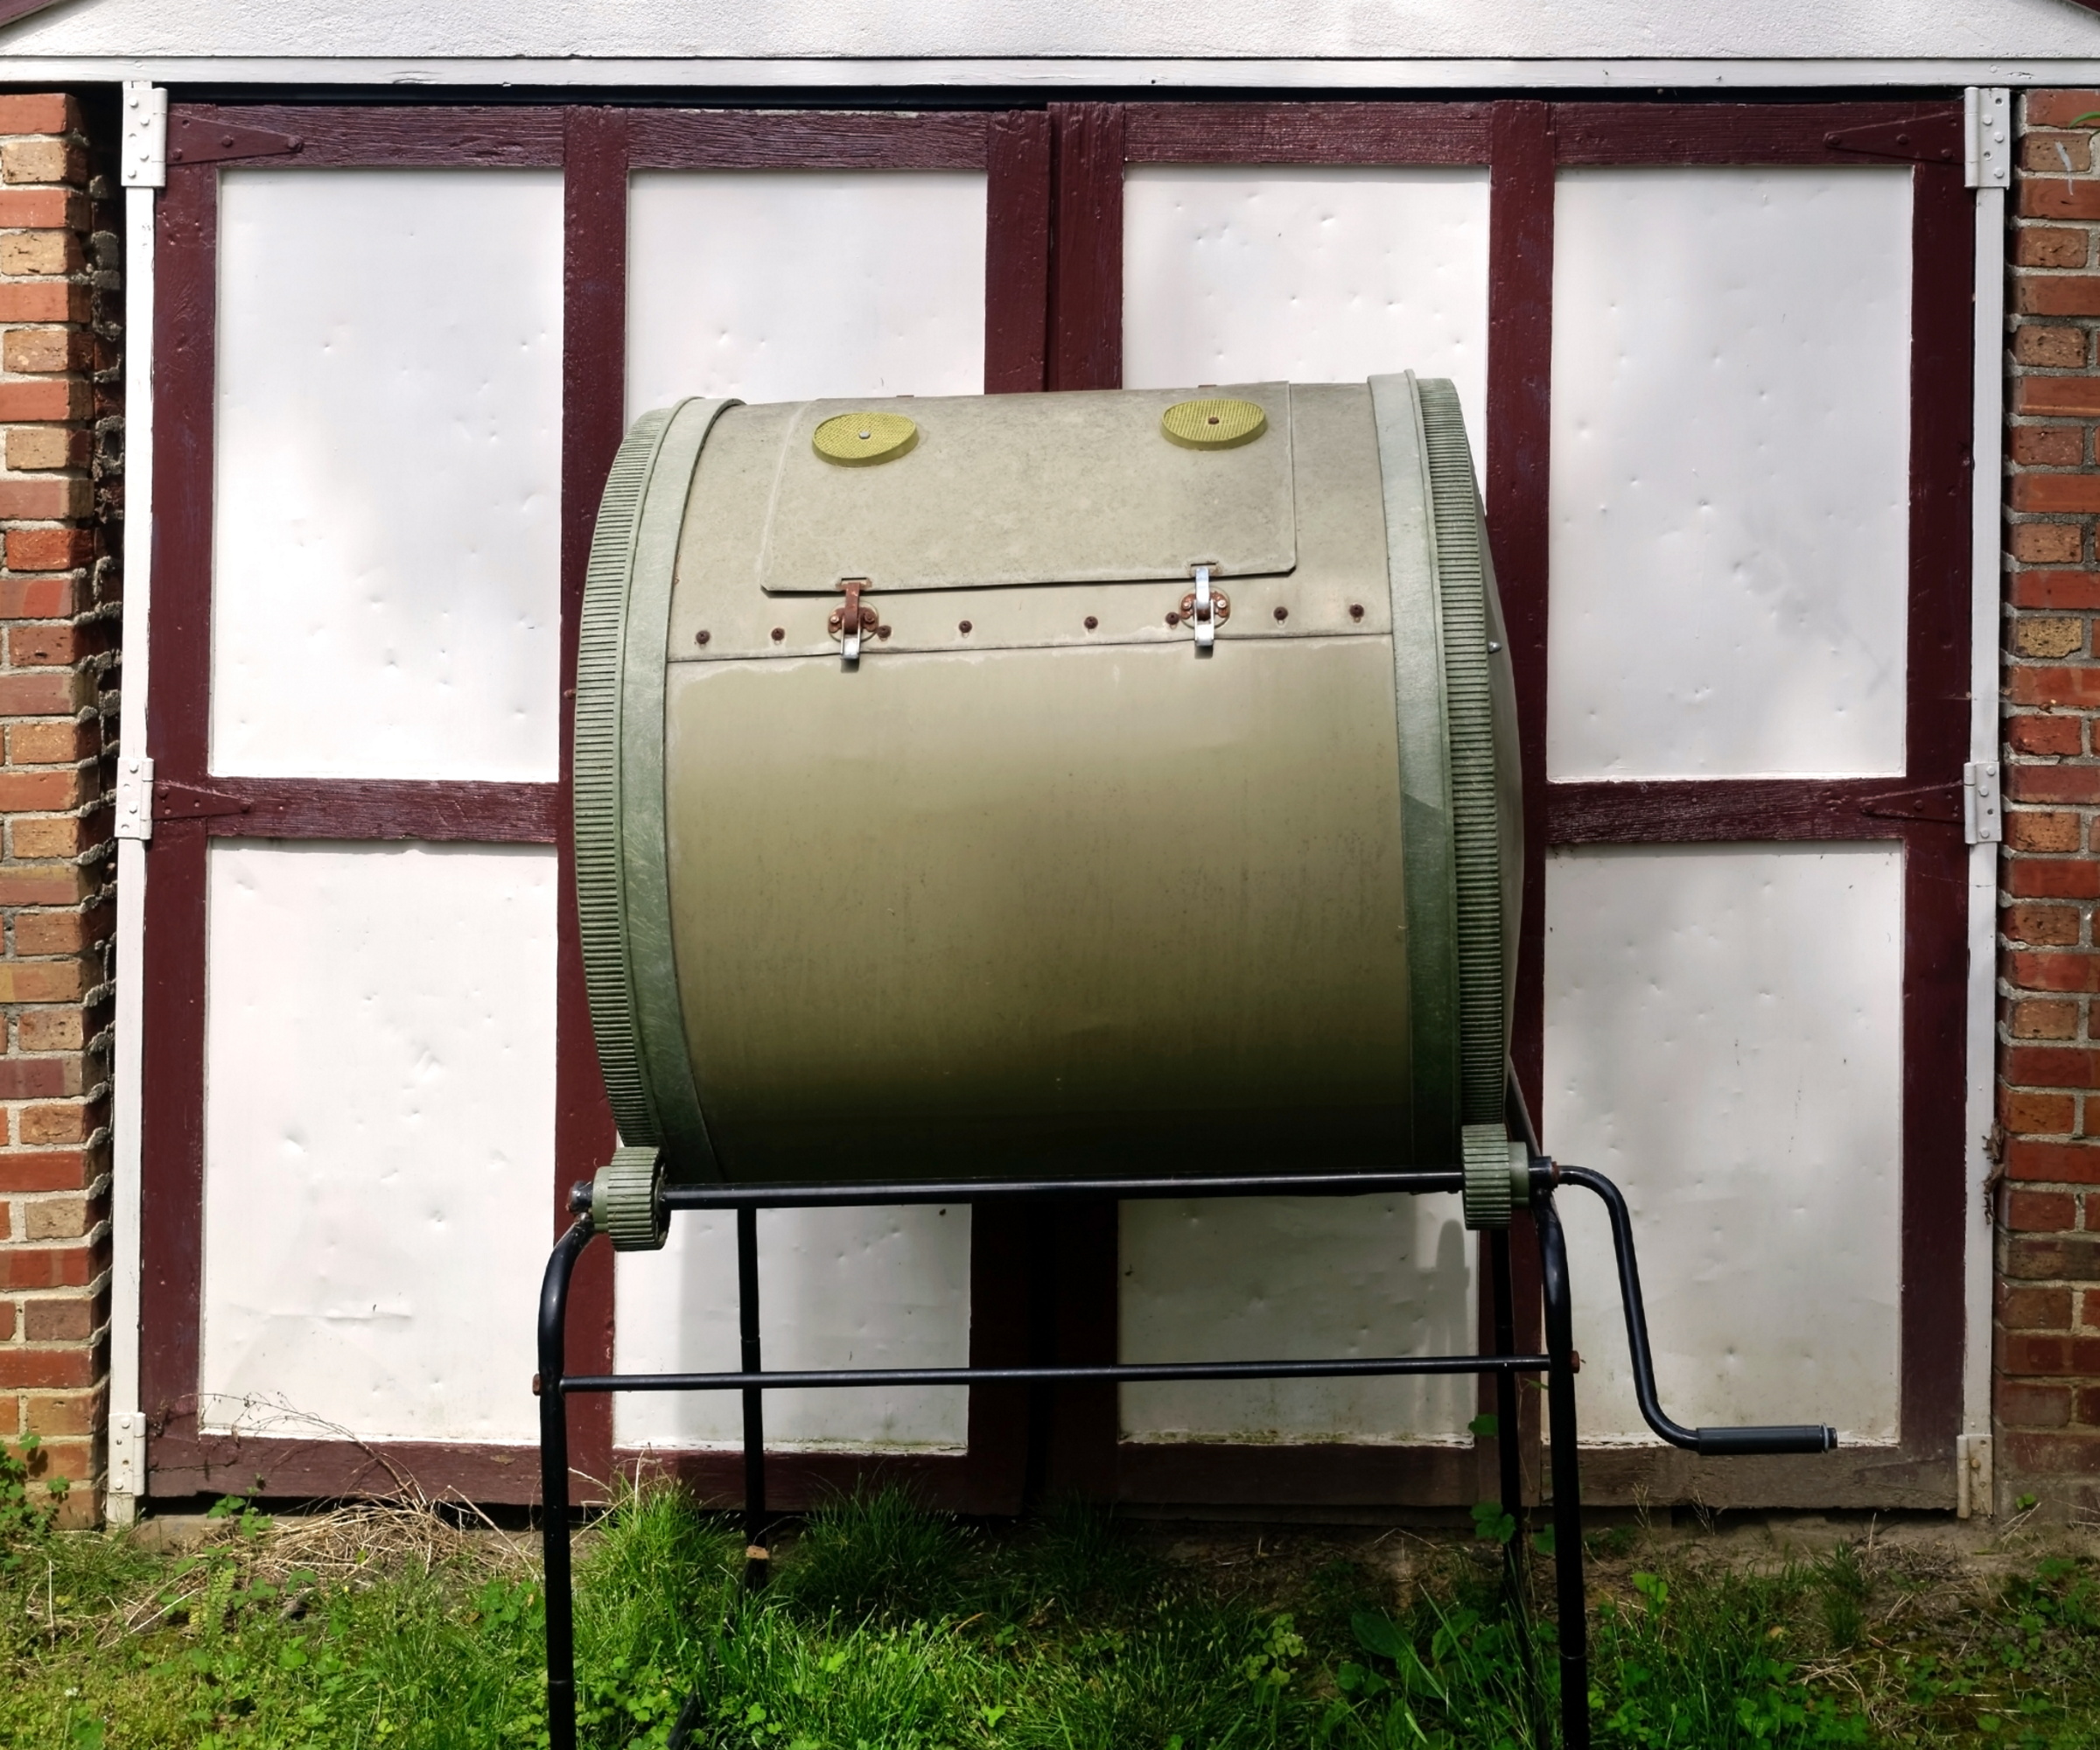
(Photo credit: Joe_Potato about Getty Images)
They may have stumbling compost containers available in retailers (like this falling compost container from Amazon). They are designed in such a way that they make it easy to keep their compost heap with mechanics that make it comfortable to turn. Well, you can make your own tumbling in compost tanks in just a few steps.
“This is a more advanced DIY,” says Lauren. “Use a 55-gallon drum (from Amazon) or a run and drill several holes in the drum to enable air flow and drainage,” she describes.
You then have to assemble it horizontally on a frame. “You can also use Sawhorses (from Amazon) with a bar or a pipe as axis,” says Lauren.
If your barrel does not yet have a secure lid, Lauren suggests cutting a flap on the side to create a door, “you with hinges and a stop for safe closings”.
The run should be free to turn so that you can easily turn your compost.
Faqs
Can you use a DIY compost tank indoors?
Yes, there are some DIY compost containers that you can keep inside. This includes plastic -bucket compost tank and redesigned garbage container sellers. These are smaller compost containers that can fit under a sink, for example, where it is convenient to add food waste. To prevent your DIY compost container from smelling badly inside and put on pests, make sure that he is safe and covered, but still with some ventilation holes. Make sure that you also turn your compost tank regularly to ventilate it.
Creating a DIY compost container is a good garden project on your winter garden checklist if there is not so much to do in the farm. This means that you have your trash can set up in good time to start a compost heap in spring. If experts recommend this.