
When you purchase through links in our articles, Future and its syndication partners may receive a commission.
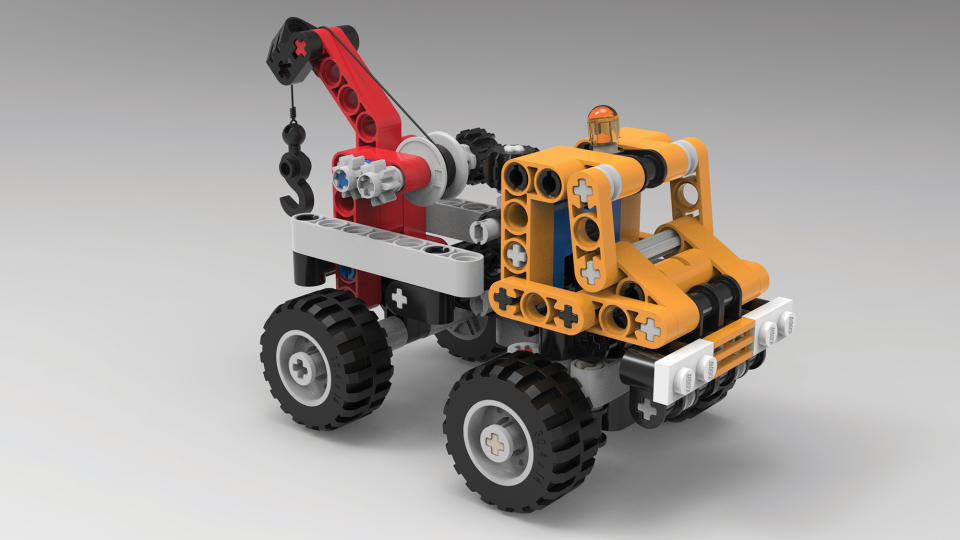
Photo credit: Paul Hatton
One of the best things about KeyShot is its ability to create and render realistic materials. When combined with beautiful lighting, product visualizations take on a whole new level of credibility. When it comes to materials, KeyShot isn't quite as advanced as some other rendering packages, but that doesn't mean it isn't still capable of creating some killer materials (see our list of the best for more options 3D modeling software). .
KeyShot offers over 850 pre-built, real-world materials, all of which can be easily customized to suit your needs. I usually use an off-the-shelf material as a starting point and then make small changes as needed.
The addition of the KeyShot Cloud library opens up an incredible wealth of materials that can be inserted directly into your scene. The beauty of this library is that it is constantly expanding. So you can be sure that KeyShot will become better equipped with a wider range of materials over time (ideal for use with one of the best laptops for 3D modeling).
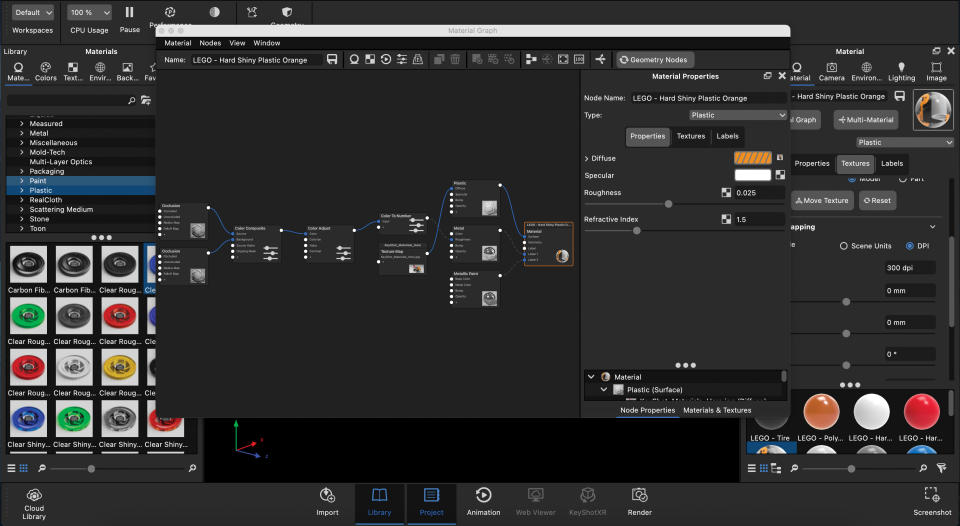
Expert tip: Material diagram
Working with materials in KeyShot
Each material also has a node graph that visually represents the composition of the material. The Node Tree allows you to further customize the properties of your materials in ways that simply aren't possible with standard material editing tools alone.
Before we get into the technical stuff, make sure your 3D model is set up to get the most out of KeyShot and ensure the smoothest workflow possible. When it comes to a material workflow, the most important thing to consider is the components that make up your model. If you have thousands of unique pieces, adding materials to KeyShot can become quite cumbersome.
It's best to find a way to make applying materials to multiple components as quick as possible. There are several ways to do this, including joining components in the same mesh, grouping components by material, or using the Link Materials feature. Whichever route you take, you won't regret it, otherwise you'll be dragging and dropping materials forever.
Now that your model is ready to use, you need to import it into KeyShot. To do this, go to “File” > “Import”. Alternatively, you can use a model from the KeyShot Cloud library to get started quickly. For our example, we downloaded a Lego-style truck created by Luxion. The model already has materials applied to it, but we can customize some and refine others…
01. Use the Materials panel
Working with materials in KeyShot
(Image: © Paul Hatton)
It may already be open on the left side of the KeyShot interface. If not, you can open the material window by pressing H. This contains a complete library of different materials, from plastics to metals and glass to stone. You can easily apply these to parts of your model by dragging and dropping them into either the viewport or the object hierarchy of the Scene panel.
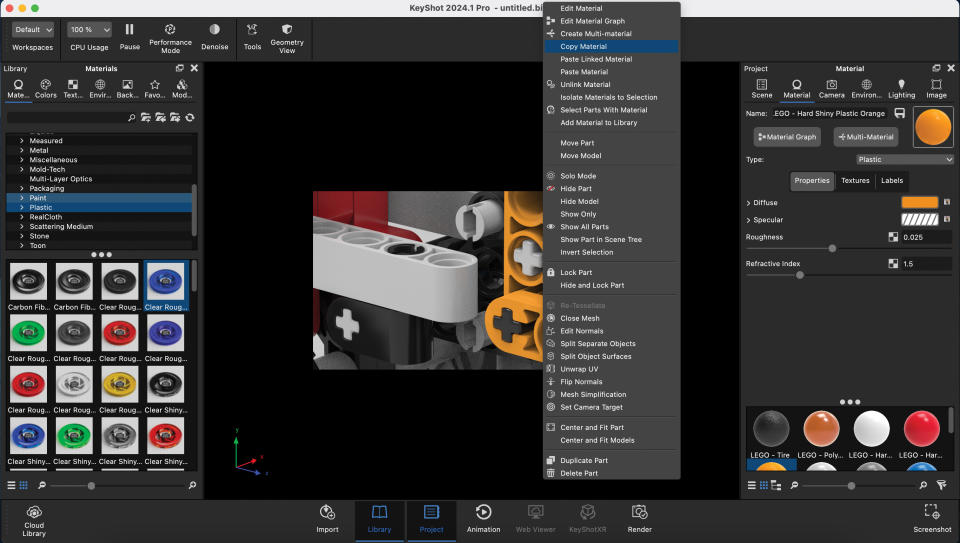
02. Copy and paste materials
Working with materials in KeyShot
(Image: © Paul Hatton)
One of my favorite features is the copy and paste material options. This allows you to take a material from one component and paste it onto another. This is a huge time saver and is as simple as right-clicking on a component in the viewport and selecting Copy Material before selecting another, right-clicking and selecting Paste Material.
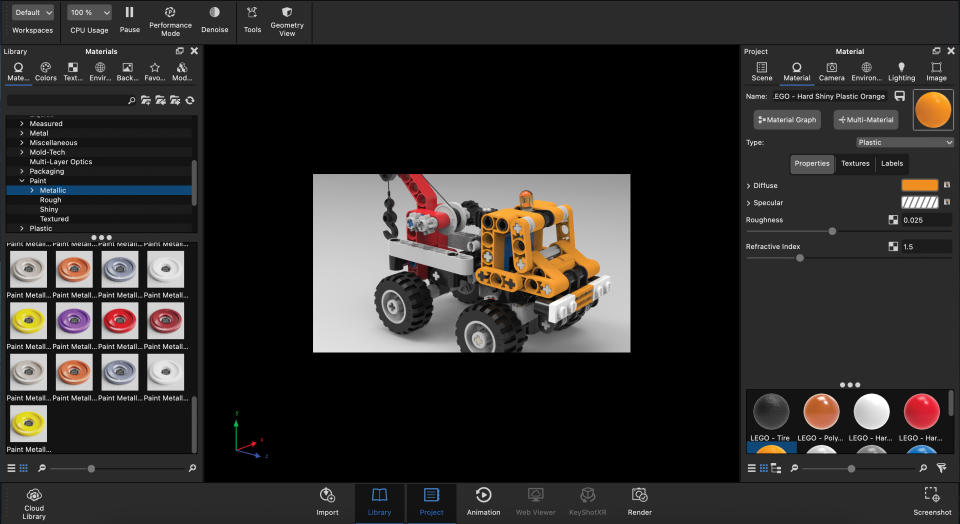
03. Material properties

Working with materials in KeyShot
(Image: © Paul Hatton)
If the choice of materials is not sufficiently tailored to your needs, you can make finer adjustments in the Material Properties section. Select a material by double-clicking it in either the viewport or the thumbnail list. Changing the property type using the drop-down menu adjusts the basic properties of the material. However, you can also adjust the Diffuse, Specular, and Roughness properties. All adjustments are replicated in the viewport in real time, allowing you to experiment with the options and see how each affects the final result.
04. Textures and labels
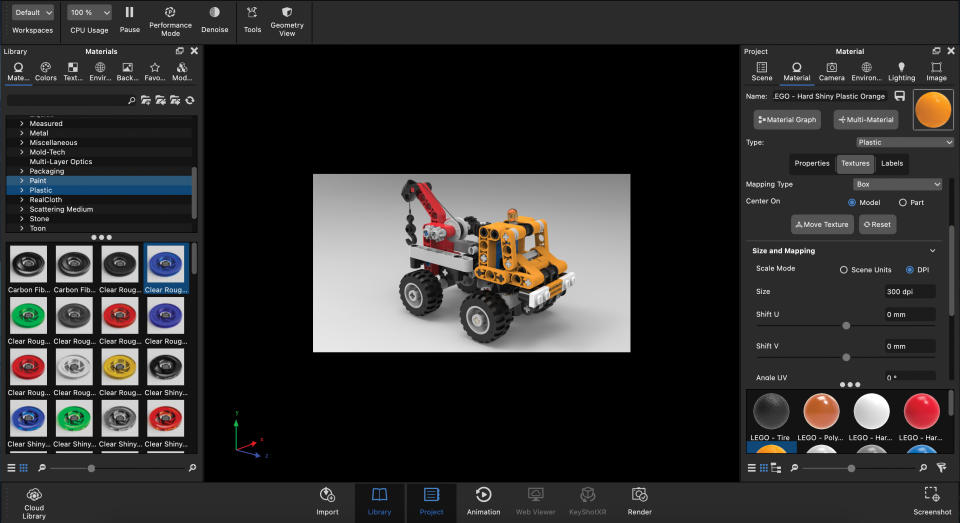
Working with materials in KeyShot
(Image: © Paul Hatton)
The Textures tab in the Properties window opens up a world of functionality. You can add any texture map using the Diffuse, Specular, Bump, and Opacity channels. These can also be mapped using any mapping type or even customized in the Size and Mapping rollout. If your model has already been UV mapped, this will be transferred. You can also apply decals from the Labels tab.
This content originally appeared in 3D World magazine.